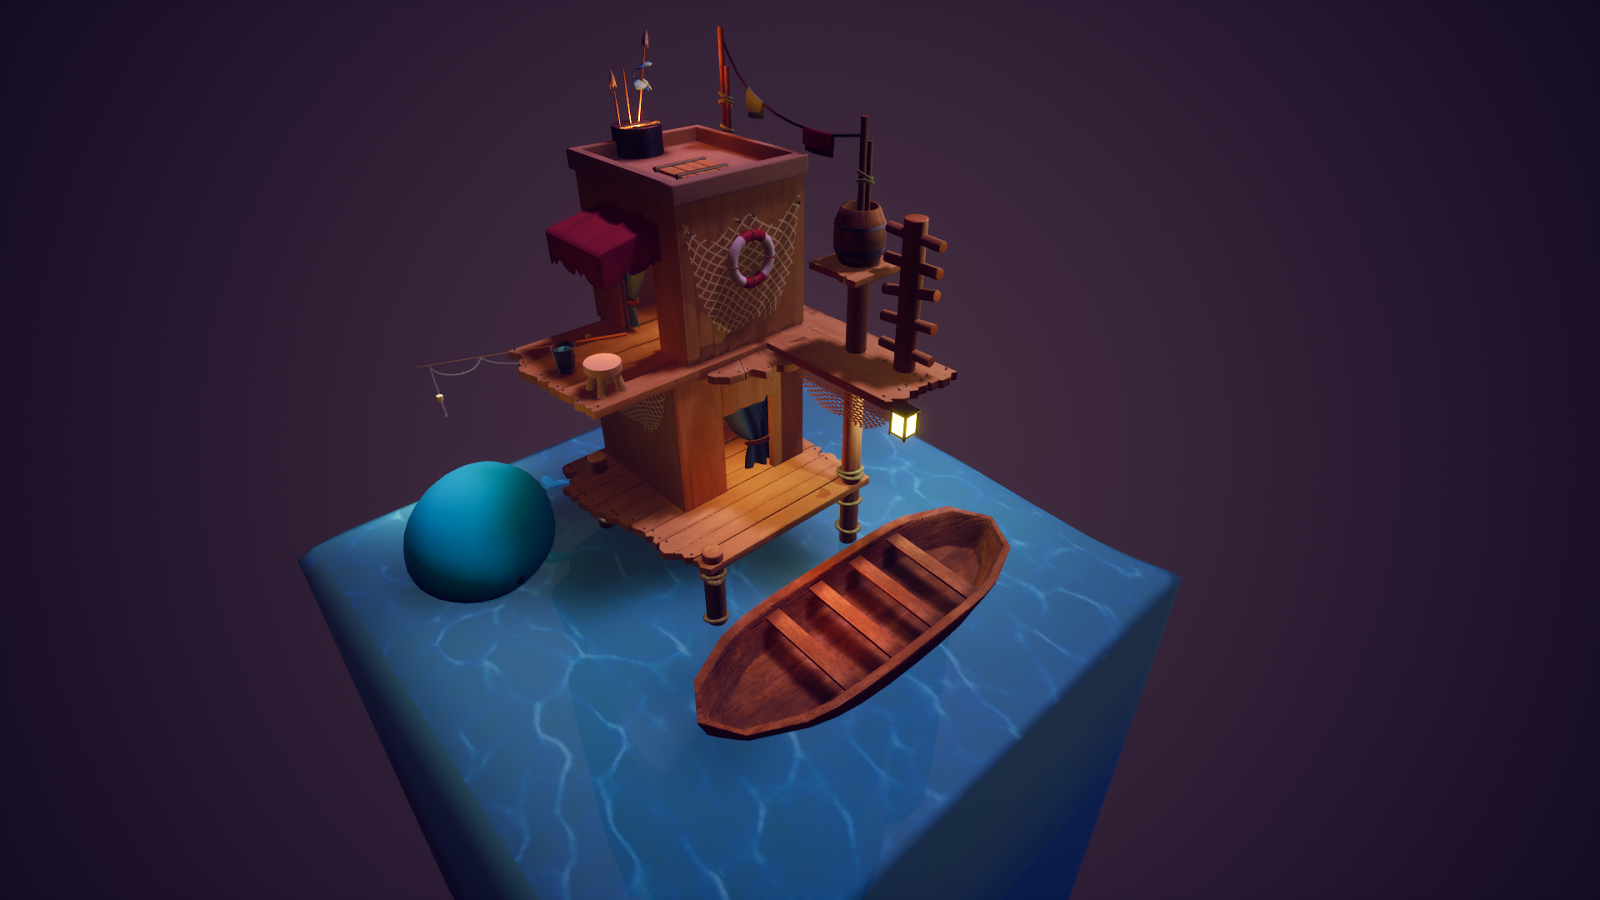
So here is my final corner piece that I was able to complete in 3 weeks, I will continue this in VR and will have a more fully completed environment! This was a really fun environment for me and hope to improve on it!


Software Research (Marvelous Designer & Agisoft)
During my time
in the third semester at FIEA I wanted to dive into 2 programs that were new to
me, the first one being Marvelous Designer which is a program that is used to
create 3D virtual clothing or fabrics that can be draped over an object or
character. My reason for using this program was to create curtains, table
runners and cushions for my hotel hallway scene.
At first you
have to become familiar with navigating around the space which is somewhat
similar to Maya. The best way I was able to learn the program was to follow
some tutorials on YouTube because there are so many ways to create what I
wanted for my scene. The first thing that I wanted to do was to create curtains
but instead of just making them in the scene I wanted them to naturally form
with the environment placed in so I exported out the pole, furniture and window
sill combined as an FBX and imported it in Marvelous Designer.
Once in the
scene I created the plane for the curtain and checked the scale of it with the
environment so it could match the scene scale wise. I also simulated wind so it
could push the curtain and make certain folds and make a better silhouette than
just boring curtains hanging down. If I wanted to I could also pull the curtain
itself and change it that way but then it could also mess up a little. One way
to attach the curtain to the pole was to create a point and then pin it to the
desired mesh, I wasn’t too fond with the method so I ended up looking up for
another video that showed me how to freeze the curtain in midair without it
falling to the ground when simulating the curtain. What I did was to create a
small strip of cloth and freeze it in the space, once doing so I created
another longer piece which was the curtain itself and sewed the two together.
The result was very nice and you have control of the length of the strip so you
can create nice folds for the tips that looked very natural. You also had the
ability to pull either side of the strip so you could change the folds at your
desire.
The next thing I
wanted to do was to create a pillow for my chair and that was also a fairly
easy, first I had to create two squares and align them correctly, I then had to
select the matching edges before sewing them together so they would form
correctly. Once the two pieces were together, you select on plane and on the right
side you will see a property editor and go to the pressure option and first
make it a negative value and then select the second plane and do the same thing
on the pressure option but this time make it a positive value. Once you have
that done you simulate the pillow and you will see how the pillow inflates.
From here I used the grab tool and placed the pillow on my chair so it could
fold itself depending on where I placed it. If I wanted to I could’ve made
ruffles for the cushion but because of scope I decided not to and go with tassels.
The little that
I learned from using Marvelous Designer, I realized that how important this
tool helps in the industry and how much it’s been used to create clothes for
characters such as Metal Gear Solid, Assassins Creed, black Desert, Maple Story
and the Witcher just to name a few.
The second
software I wanted to try out was Agisoft Photoscan which is a photogrammetry
program that uses digital images and generates 3D models. After realizing that
this method is used a lot in the industry I wanted to try it out and see what
the end result was so I partnered up with Chelsea Zui and we tested out several
things. The first thing we did was to photograph a funko-pop but we took about 12
images. After putting in the images in Agisoft, the program only recognized one
image because of multiple factors. One of them being the lighting was too
bright in the background, we needed way more photos from different angles as
well in order for the program to collect more information in order to build out
the cloud particle before generating the 3D mesh.
The second
attempt we ended up photographing a bust sculpt and we ended up with around
80-90 images from various angles. At first we attempted placing in the images
inside of the program and it kinda work but what Chelsea and I ended up looking
up was that we had to take the images in photoshop and actually mask out the
object from the background. Once we did that we took it back to the program and
re-did the particle cloud again and the result as a lot better than the first.
We also had to clean up the particle cloud in order for the mesh to generate properly
without any floating points. Once the mesh has been generated at the quality
you desire then we can import that mesh into ZBrush to do some clean up and
then exporting it out to retopologize it in Maya.
I
didn’t go much further from what I just wrote on here about the software but
from the little that I learned from the process, it showed me how we can
generate a 3D mesh from just images. Even though we don’t have a 3D scanning
gun like EA, we can still use other programs that can help us get what we want
even though we have to go through a few more steps in order to achieve the end
result.